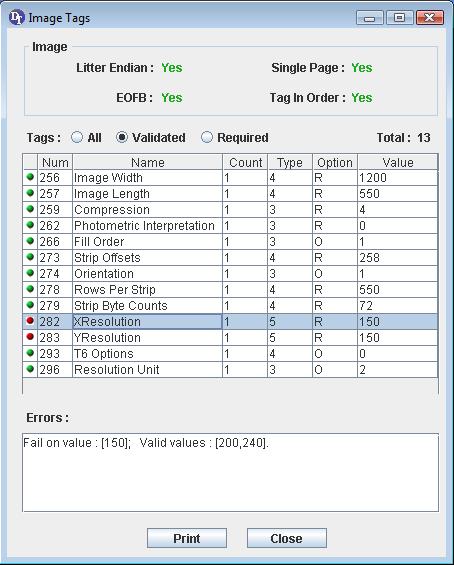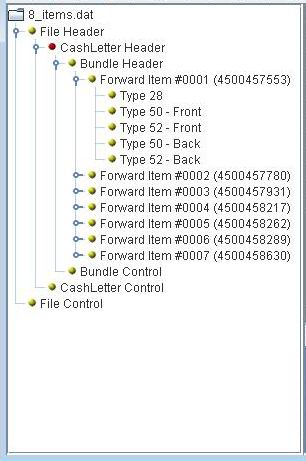
The Control Panel lists all the records of the X9 Image Cash Letter file in hierarchical structure.
Color balls indicate the validation status of the record. If the record contains problem in error level, the color of the ball is red; if there are problems in warnings level, the color of the ball is yellow; otherwise, the color of the ball is green.
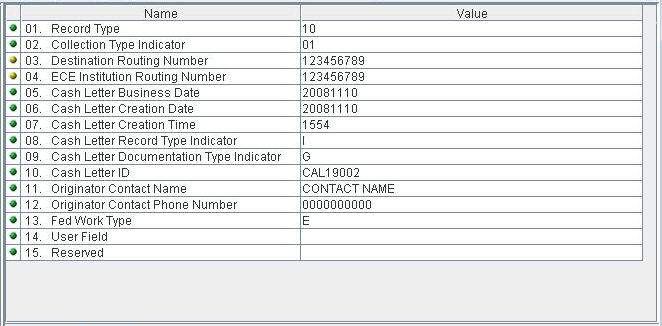
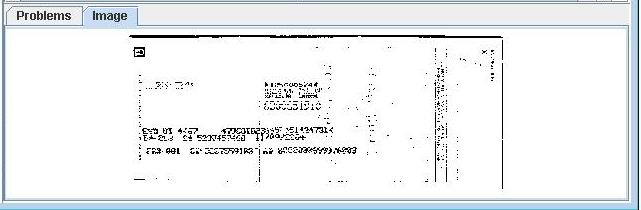
Select the records in the control panel, the content of the record
fields are displayed in the record panel. All the validation problems are
listed in the Problem Panel.
 - Indicate the
field has problem in warning level
- Indicate the
field has problem in warning level  - Indicate the field has probelm in error
level
- Indicate the field has probelm in error
level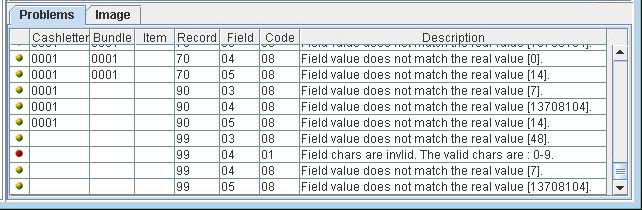
 .
.
 /
/ ) on the menu tool bar